How to Make your Own Grocery Bag Holder


Okay, I've got another project that was quick and simple and it seriously makes me wonder WHY did I not make this years ago?
I've been having grocery bag woes for years. I use them often (usually to line the smaller garbage cans) and I save them and they've always been shoved under my sink, or in my pantry, making a huge mess and bugging me immensely.
I had a free half an hour today so I knew I had to put it to good use and get those darn bags up and out of the way in their own Grocery Bag Holder.
Here's how to make your own.
MATERIALS NEEDED:
1. Fabric One cut 28.5" x 16.5"
2. Fabric Two cut 6.5" x 16.5" two times
3. 2 strips of elastic 9" long
4. Extra strip of fabric two cut 4" x 1.5"
STEP ONE: First cut out your fabrics.
Note, I wanted mine really long and skinny so it could tuck neatly into my pantry. You may want yours wider or shorter-- adjust as needed.


STEP TWO: Make your hang up strip. Cut out fabric, fold, iron, and sew together.
Um, this one needed some guess work so what's shown is actually an 8" strip, which I eventually cut in half.

STEP THREE: Grab fabric two and fold under one side of each 1/2" two times, iron and sew down.

STEP FOUR: With right sides together pin fabric two to fabric one on both the top and the bottom of fabric one. Sew together.

STEP FIVE: Add 9" of elastic into the top and bottom of grocery bag holder.


STEP SIX: Pin in the holding strap, facing towards the right side of the material.

STEP SEVEN: Pin and sew from top to bottom, with right sides together the entire grocery bag holder.

STEP EIGHT: Turn right side out and you're All Done!


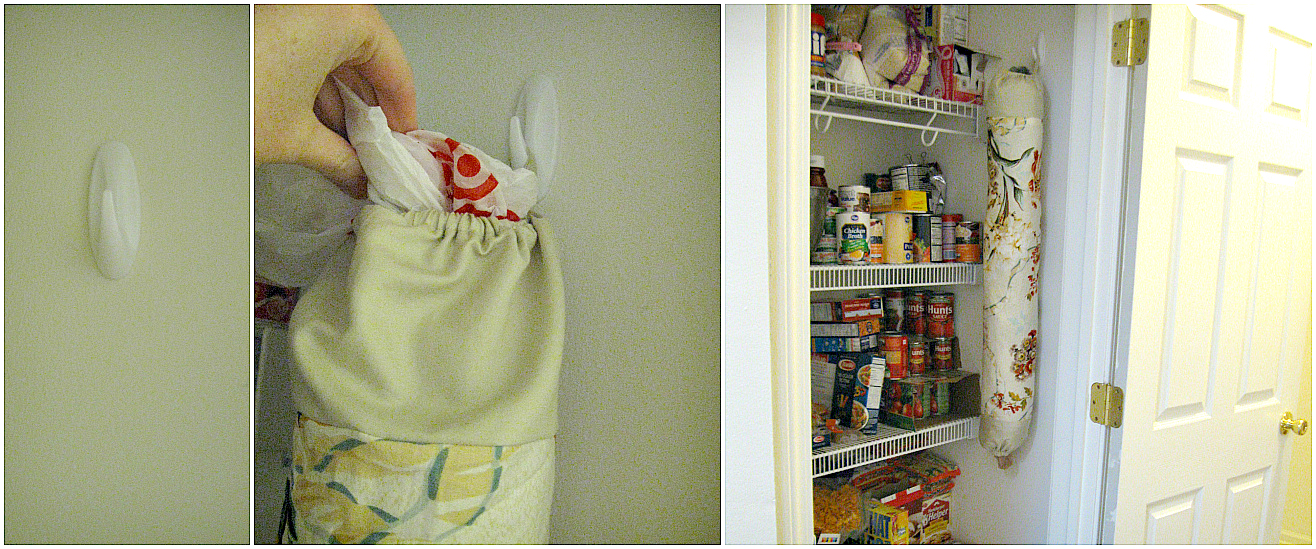
Last thing I did was attach a command strip holder to my wall, then I stuffed my holder with bags and I was done. And happy as can be with my neat and tiddy bags, that even the kids can reach when I have them take the trash out.


Comments
I hope you can make it!
Cheers,
Kathy Shea Mormino
The Chicken Chick