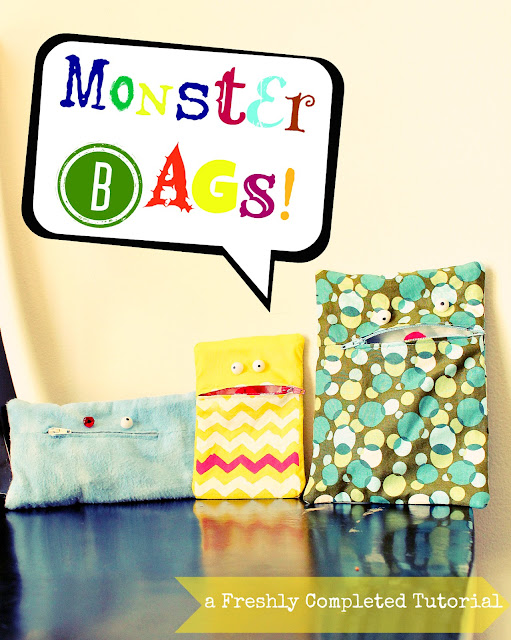
Monster Bags!
I'm continuing with sharing things I made for Christmas.
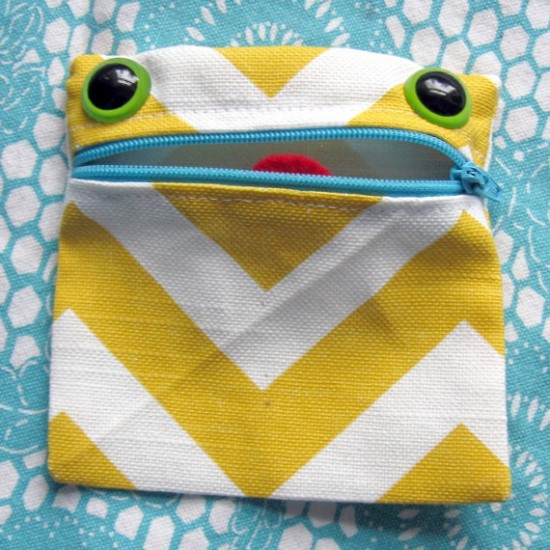
For my children I made them each a monster bag.
I got the idea from a post I saw last year on Small for Big.

I thought it was such a cute/easy idea. And perfect for using up those extra fabric scraps.
Here's how to make them.
MATERIALS:
1. Fabric
2. Buttons
3. Zippers
4. Quilted fabric
5. Red felt
6. Black Paint/ paint brush
STEP ONE: Gather up materials needed.
STEP TWO: Cut out fabrics.
I cut one of my yellow fabrics in half where I was going to add the zipper.
STEP THREE: Get ready to add zipper.
I don't often sew with zippers and for a really wonderful/clear tutorial I followed this one by Make it and Love it.

Zig-zag each end of fabric. Then base stitch fabrics together. Fold down and iron. Add zipper.
STEP FOUR: Sew your zipper in place.
STEP FIVE: Remove tape and unpick base stitch where the zipper is.
STEP SIX: Place three fabrics together and sew all around edges.
I wanted to add the quilted fabric so these monster bags would be more sturdy.
STEP SEVEN: Cut out a little tongue made of red felt.
Hold up place where zipper is and sew on tongue piece.
This will secure it down and prevent it from getting stuck in the zipper.
STEP EIGHT: Clip edges.
STEP NINE: Turn right side out and iron down.
STEP TEN: Hand sew on buttons for eyes.
Add a teeny dot for eyes.
You could be all done here. I took a look at my yellow monster and decided it was a little plain. So I decided to add some fabric paint, using freezer paper to add some chevron lines.
Now I'm All Done!
Then I made two more, each one a little different size.
The kids love 'em. They can hold all sorts of things.
Including fun peg people super heroes.


Comments